Blog Archives

2018 – Ten Squared Plus Five
At last, the Rochester Modern Quilt Guild’s first show, “Taking Flight,” is over (September 29) and I’ve nearly recovered. It was a huge success; we had lots of visitors, lots of quilts, and lots of happy vendors. It was also a huge job creating a show out of whole cloth, a job I’m glad to pass along to another guild member.
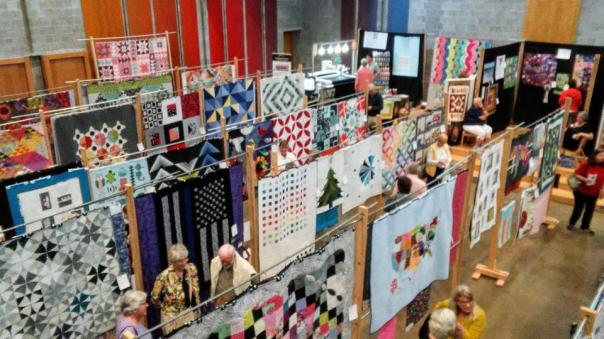
“Taking Flight” – inaugural show by Rochester Modern Quilt Guild, September 29, 2018
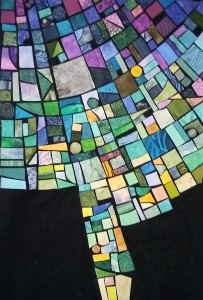
So, here is a quilt I made for the show. You can also see it hanging lower center in the show photo.
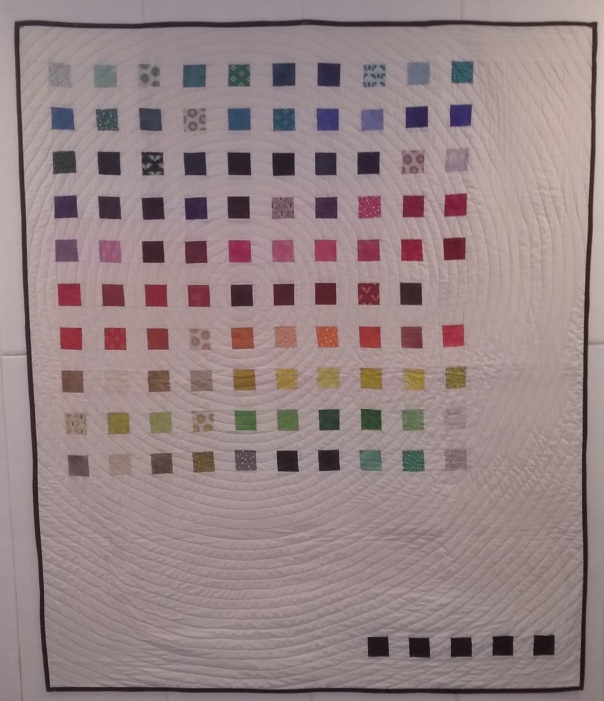
Ten Squared Plus Five
I used three packs of mini-charms (2-1/2″ squares) sorted by color, then added a few extra black squares to counterbalance at the bottom. To contrast with all those straight lines, I quilted it in a spiral on my Viking.
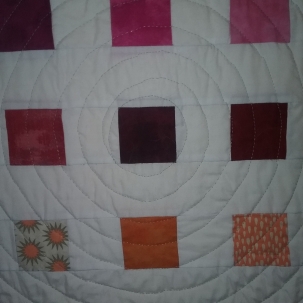
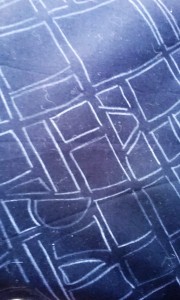
Ten Squared Plus Five – center quilting

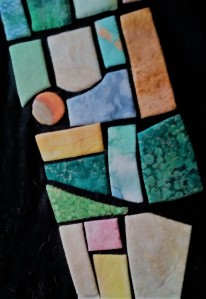
Ten Square Plus Five – Showing Back
The back matched the fabric of the yellow square.
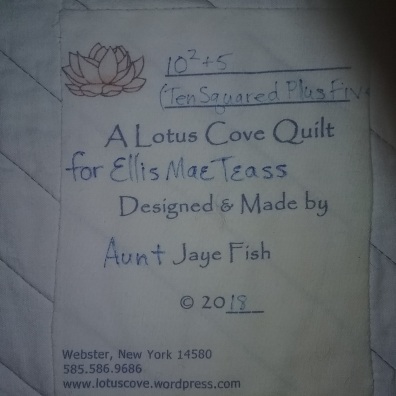
This is now with my new grand niece in Virginia.
Update 5 – 2017 Tesserae
I’ve paused adding new tile pieces to Tesserae to make some corrections to earlier work. About a dozen tiles that seemed crooked, misplaced, or wrongly colored were pulled and changed.

Adjustments to Tesserae Tiles
This photo shows where several tiles were pulled to be adjusted. From the back, you can see the Peltex interfacing forming the stiff body of each tile. I used the numbered pattern pieces to assure that the tiles went back where they belonged. And yes, there are that many tiles – in fact nearly 350 – in the quilt.
Based on the mosaic “Eden” (c) 2012 Kathy Thaden.
Update 4 – 2017 Tesserae
Progress continues on the appliqued tiles for “Tesserae.” About 2/3 in place, with the end in sight.
Tesserae Progress thru 1/23/2017
I have combined some tiles in the original design and left some off to leave room for embellishments.
Based on the mosaic “Eden” (c) 2012 Kathy Thaden.
Update 2 – 2016 Tesserae
I am making slow but steady progress on the applique for the mosaic-inspired quilt, “Tesserae.”

Tesserae Progress thru 12/6/16
I am really honing my applique stitch with this project! I can see a big difference between the first tiles and ones attached today.

Tesserae Detail 1
The tiles on the left in this photo were some of the first to be attached; those on the right a few days ago. I’m hoping the difference in technique won’t show when the quilt is complete.

Tesserae Detail 2
Here are tiles attached in the last week. I invested in some John James Size 10 applique needles – they just glide through the fabric. However, their tiny gold eyes made me go find my needle threader. I also started using Roxanne’s Glue Baste-It to keep new tiles in place while I applique. Well worth the price for both needles and glue.
Tesserae Detail 3
Another detail shot. You may have noticed a few empty spots in the layout. Those are reserved for flat stone and silver embellishments – a few real tiles. They won’t be added until the quilting is complete. Design based on “Eden” (c) Kathy Thaden: http://thadenmosaics.com

Update – 2016 Tesserae
The working title for my mosaic quilt is Tesserae – the term for small pieces of marble, glass, tiles, pebbles, etc., used in mosaic work. Design based on “Eden” (c) Kathy Thaden: http://thadenmosaics.com
Here are some views of progress so far:

Fabrics Pulled for Tesserae

Tesserae Applique Begins

Tesserae Plan on Design Wall

2016 New Applique Project
Inspired by the silk applique class I took in September from Chris Wickert, I’m moving on to an original, all-applique project. Here are the steps I’ve taken so far: [If you’re seeing this on Facebook, please click on the photo to see all steps.)

Beginning Sketch

Pattern at Full Size

Tentative Color Placement
With a fistful of felt pens, I auditioned colors. The fabrics will have much greater variation, but this is a general sense of a progression from muted purples through nearly orange at the bottom.
Background Marked for Applique Placement
More to come.
Update 4 – In Jest 2015
Here are some updates on my current art quilt project, In Jest.

In Jest – Sashing Complete on Background
The area of dark, solid diamonds in the lower left will be covered by the inverted star of the harlequin face and cap. Work is progressing on it as well.

In Jest – Embroidery Begun on Face
Sandwiching the top with batting and backing is next. The finished size will be approximately 36 x 60.
Update 3 – In Jest – 2015

In Jest – Face Draft 5
I’ve decided on this version of the face. Here’s why I’m using a 72 degree rather than a 60 degree diamond.
Update 2 – In Jest – 2015
I’ve chosen a different black for narrow sashing. This will help define the diamond blocks.

In Jest – Beginning to Add Sashing
Still undecided about how to finish the edges. Should they be squared off or should I keep the serrated edges? Sides different from top/bottom?
And another draft of the face – working on idea of an open-mouthed smile. Too goofy now.

In Jest – Face Draft 4
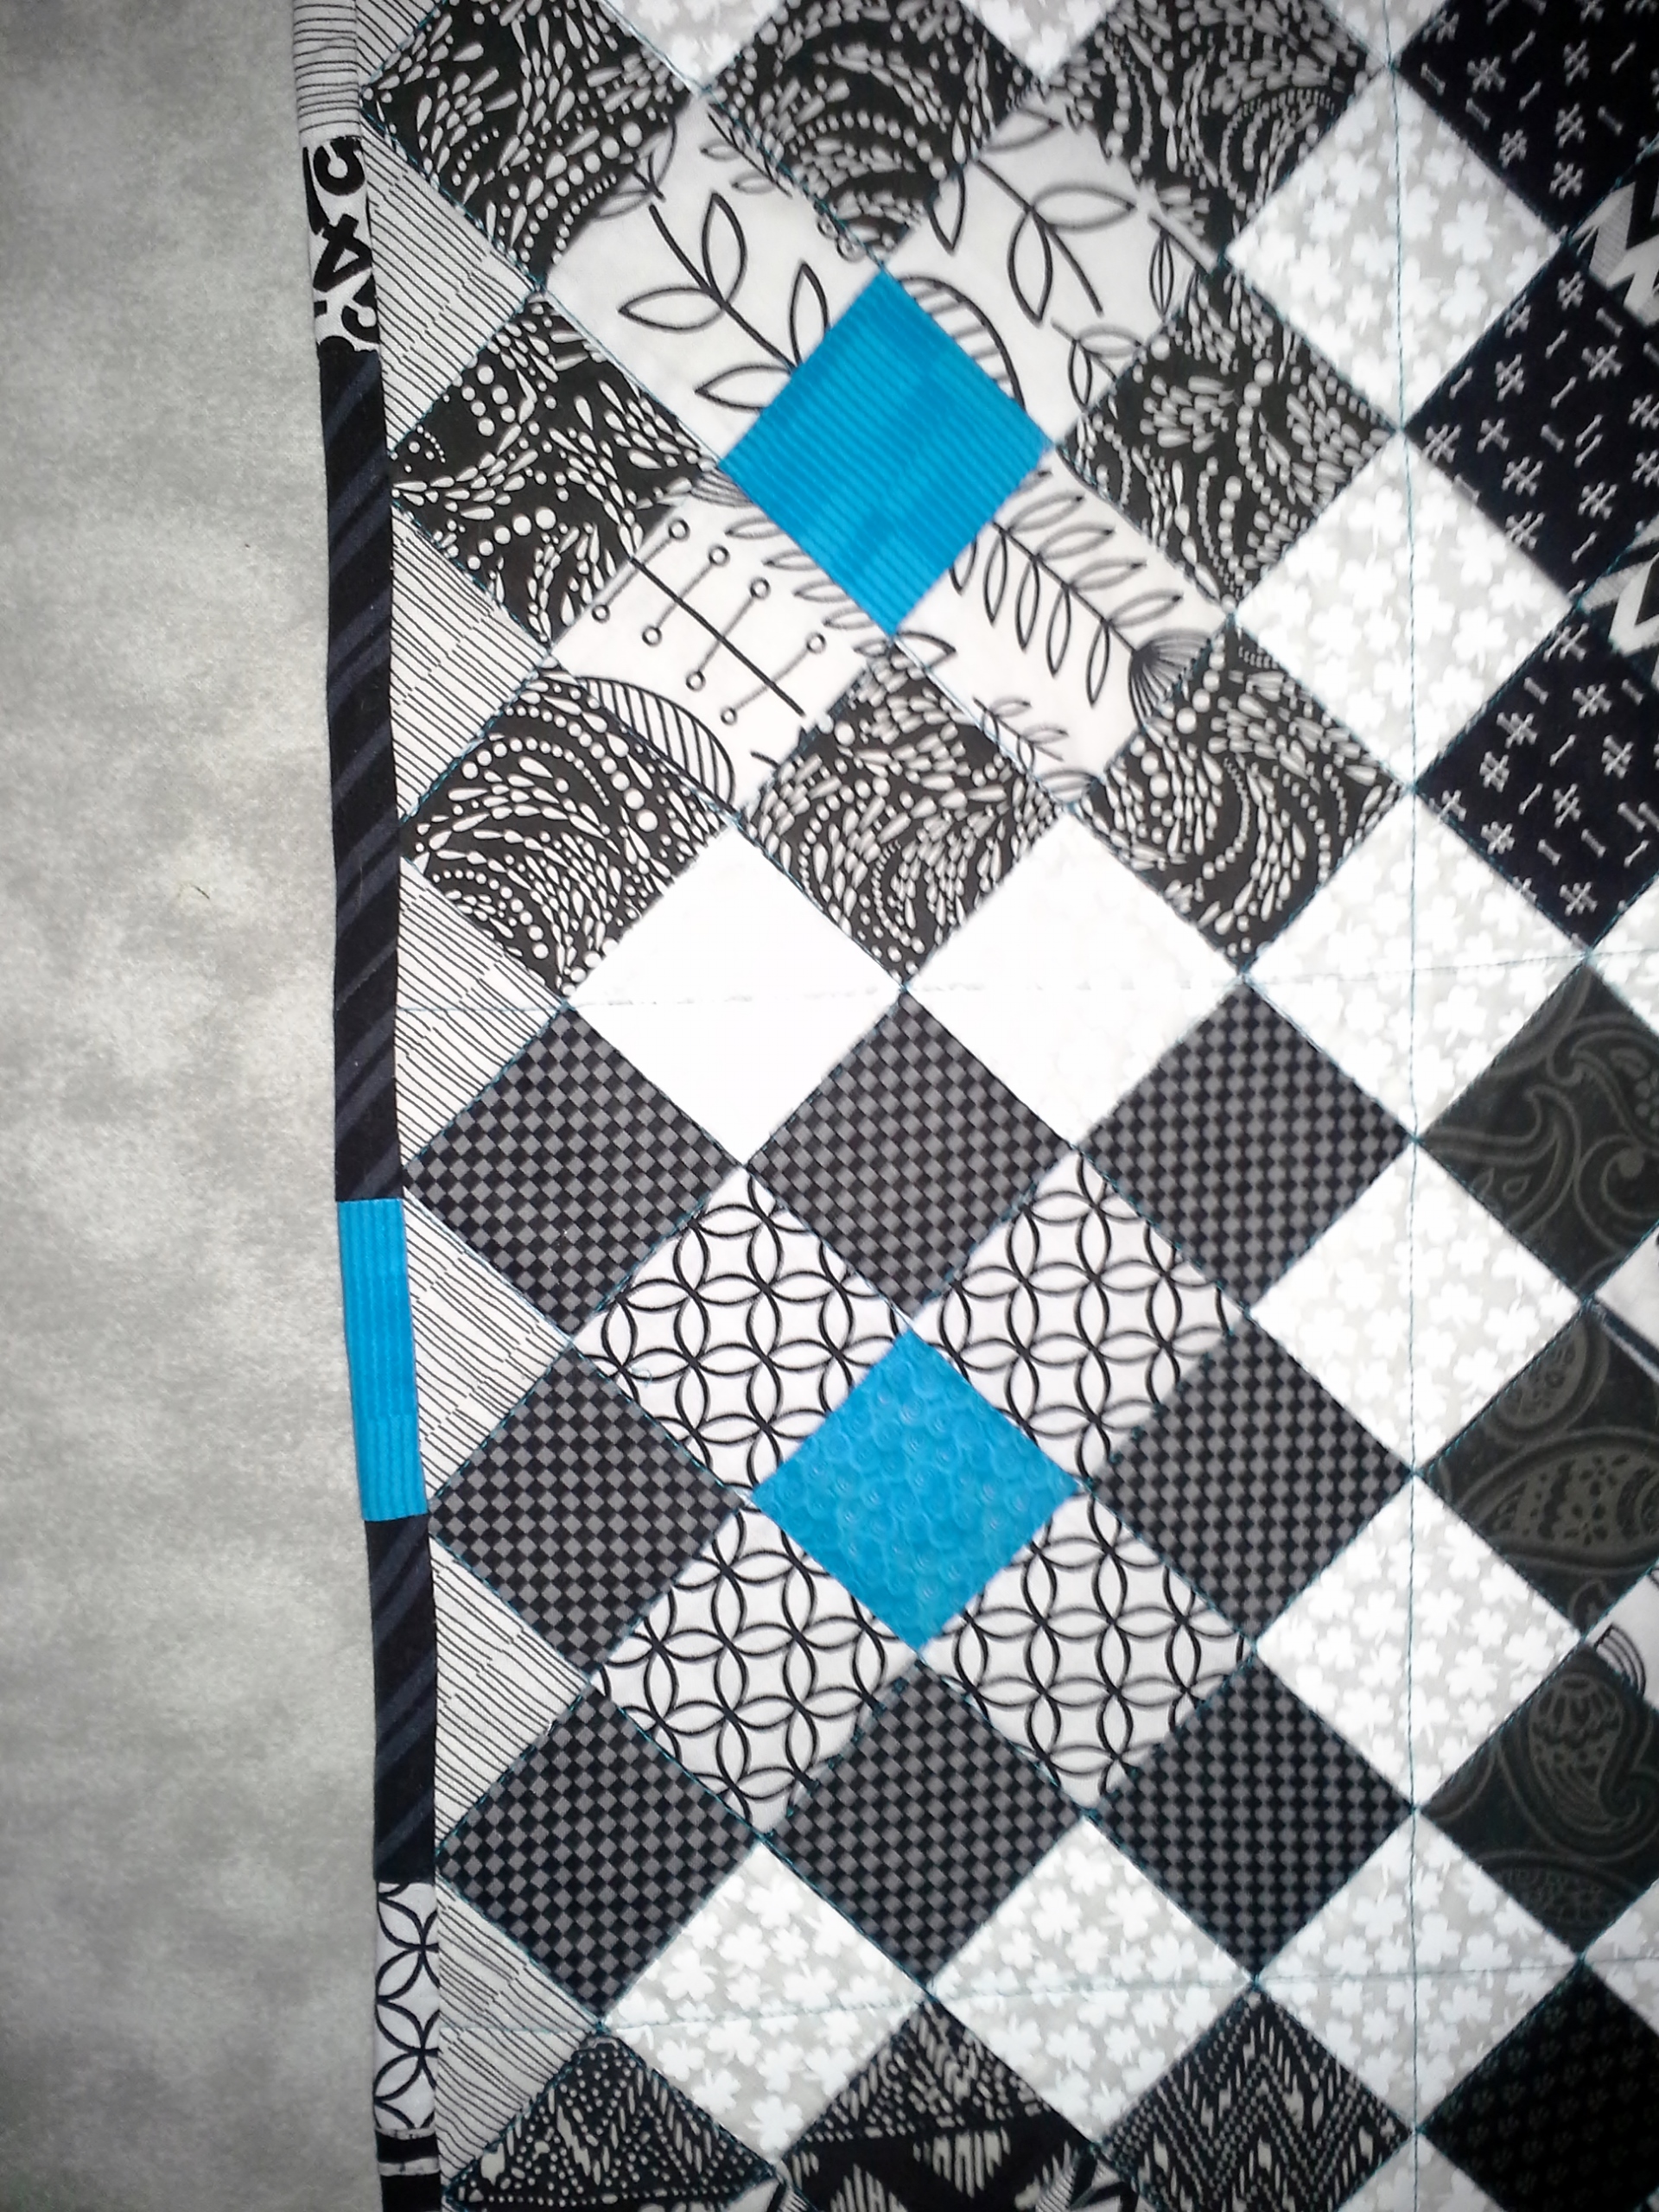
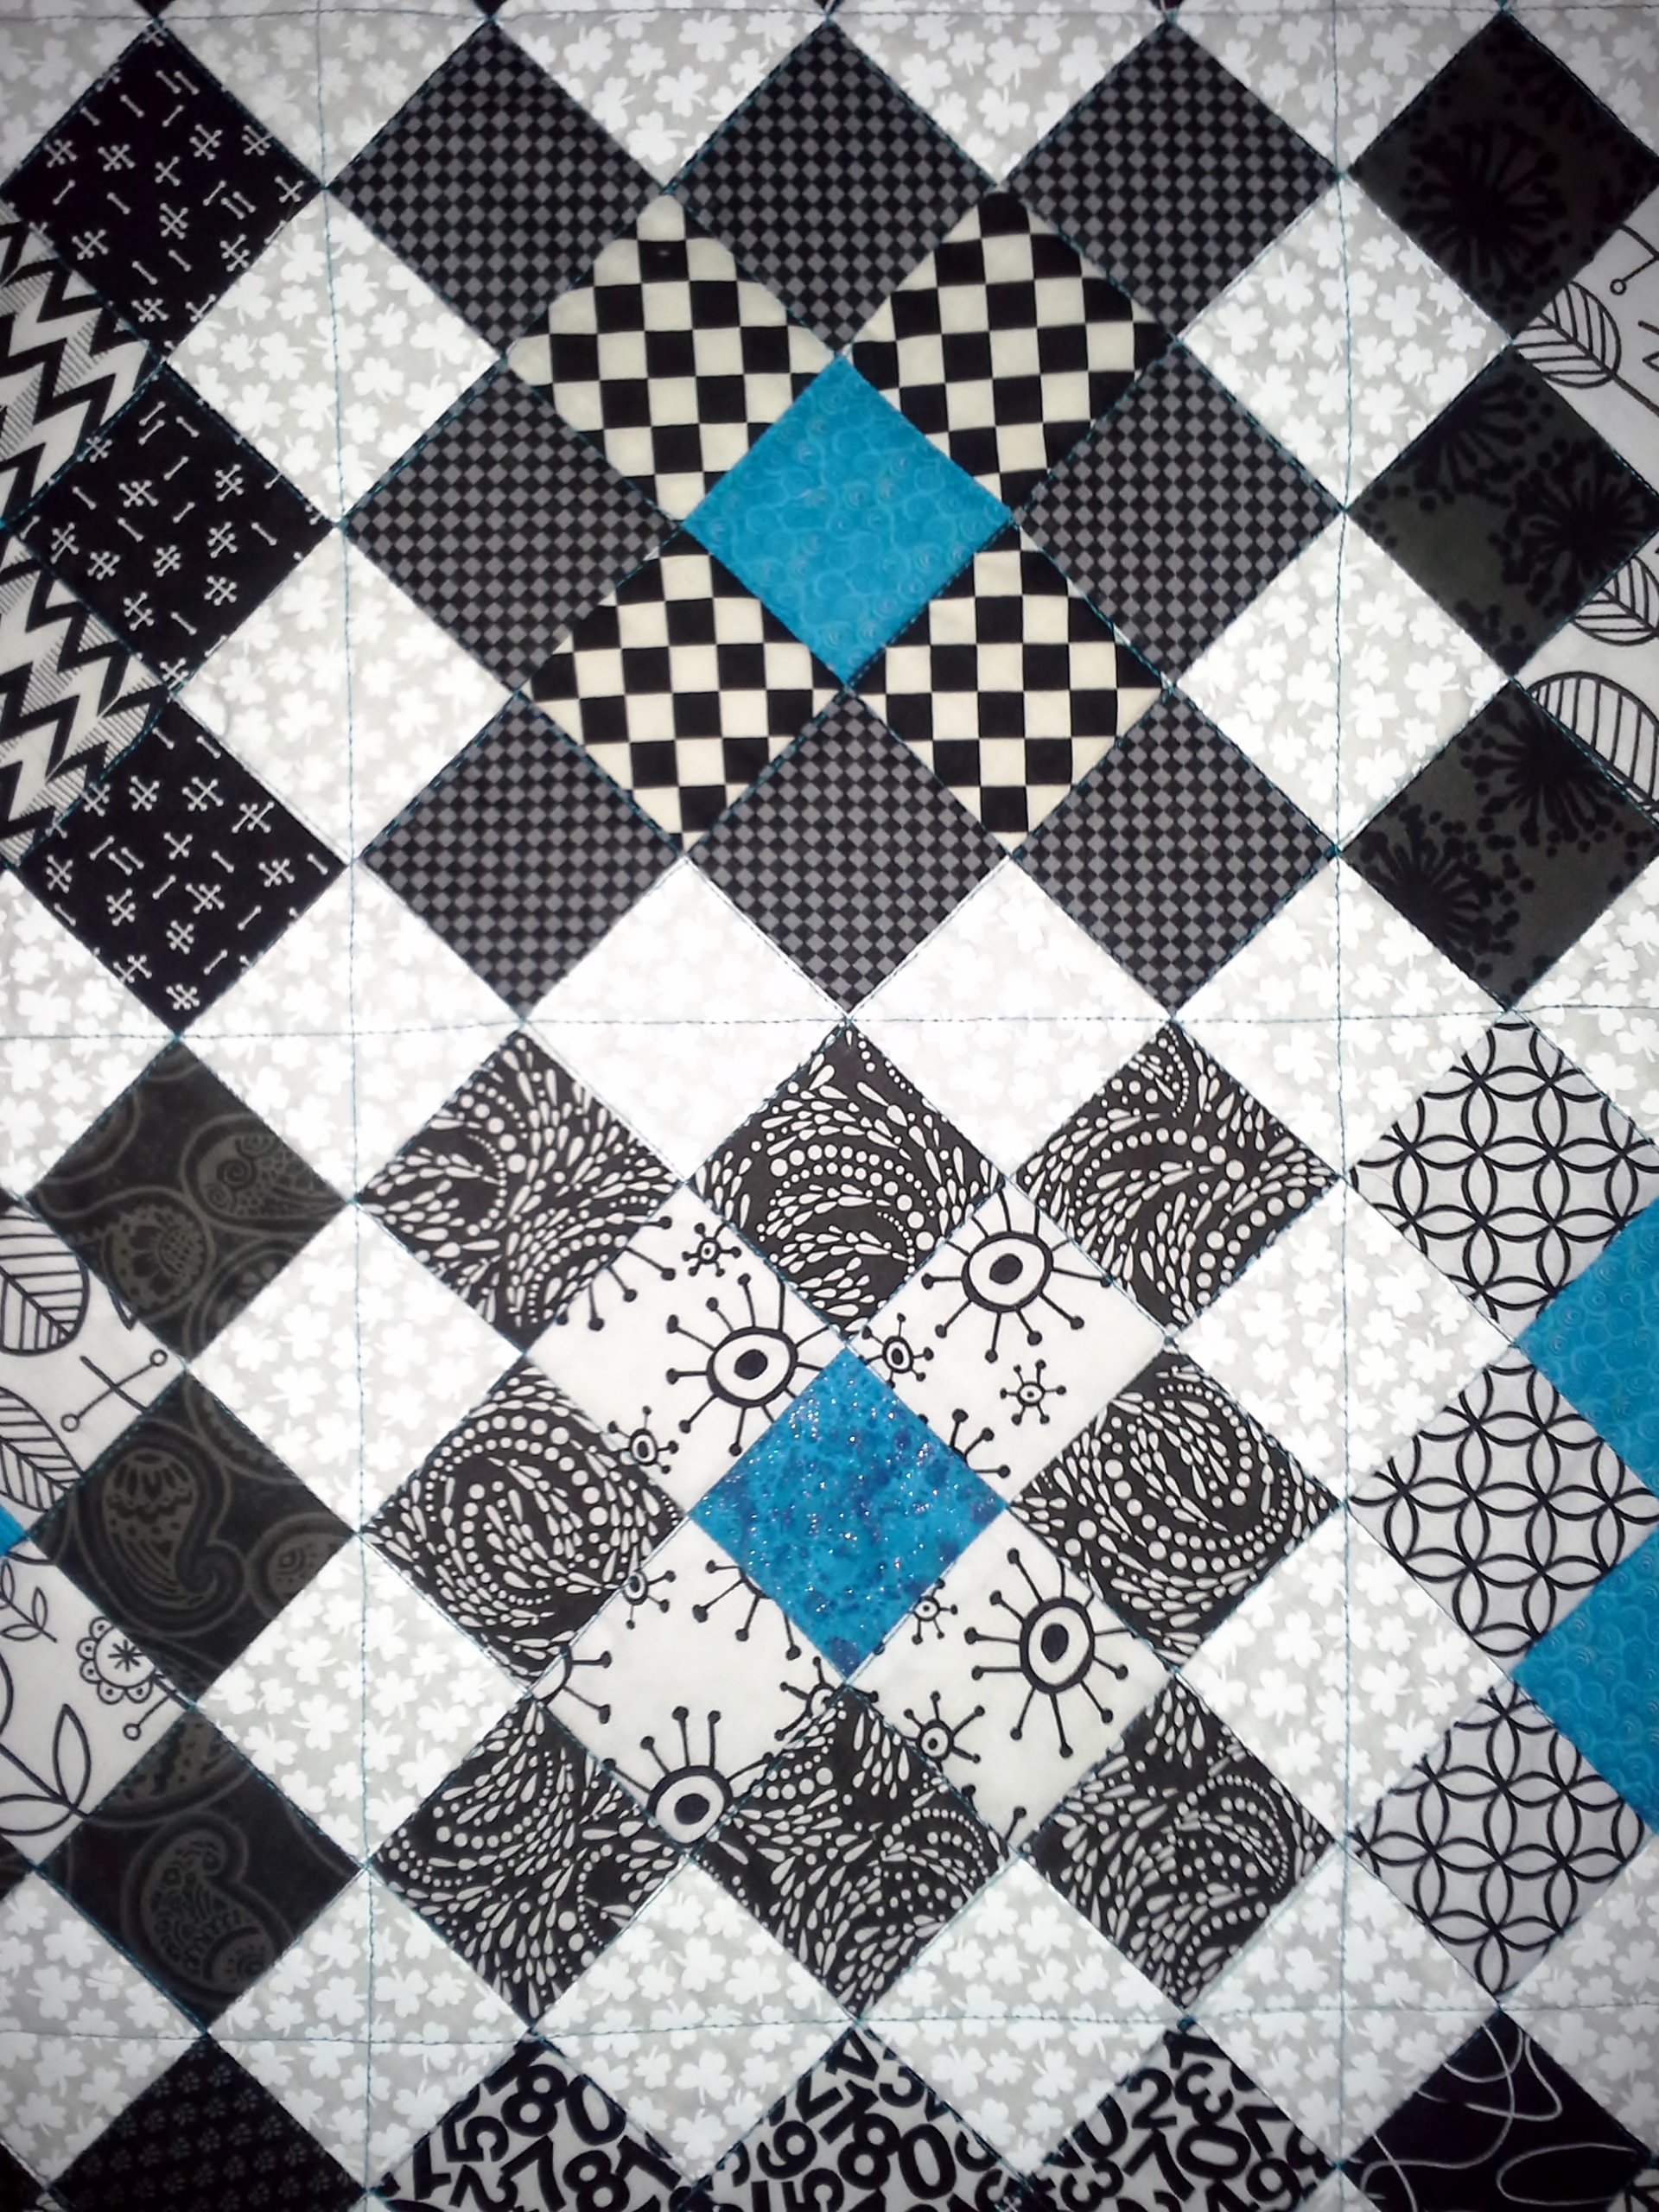
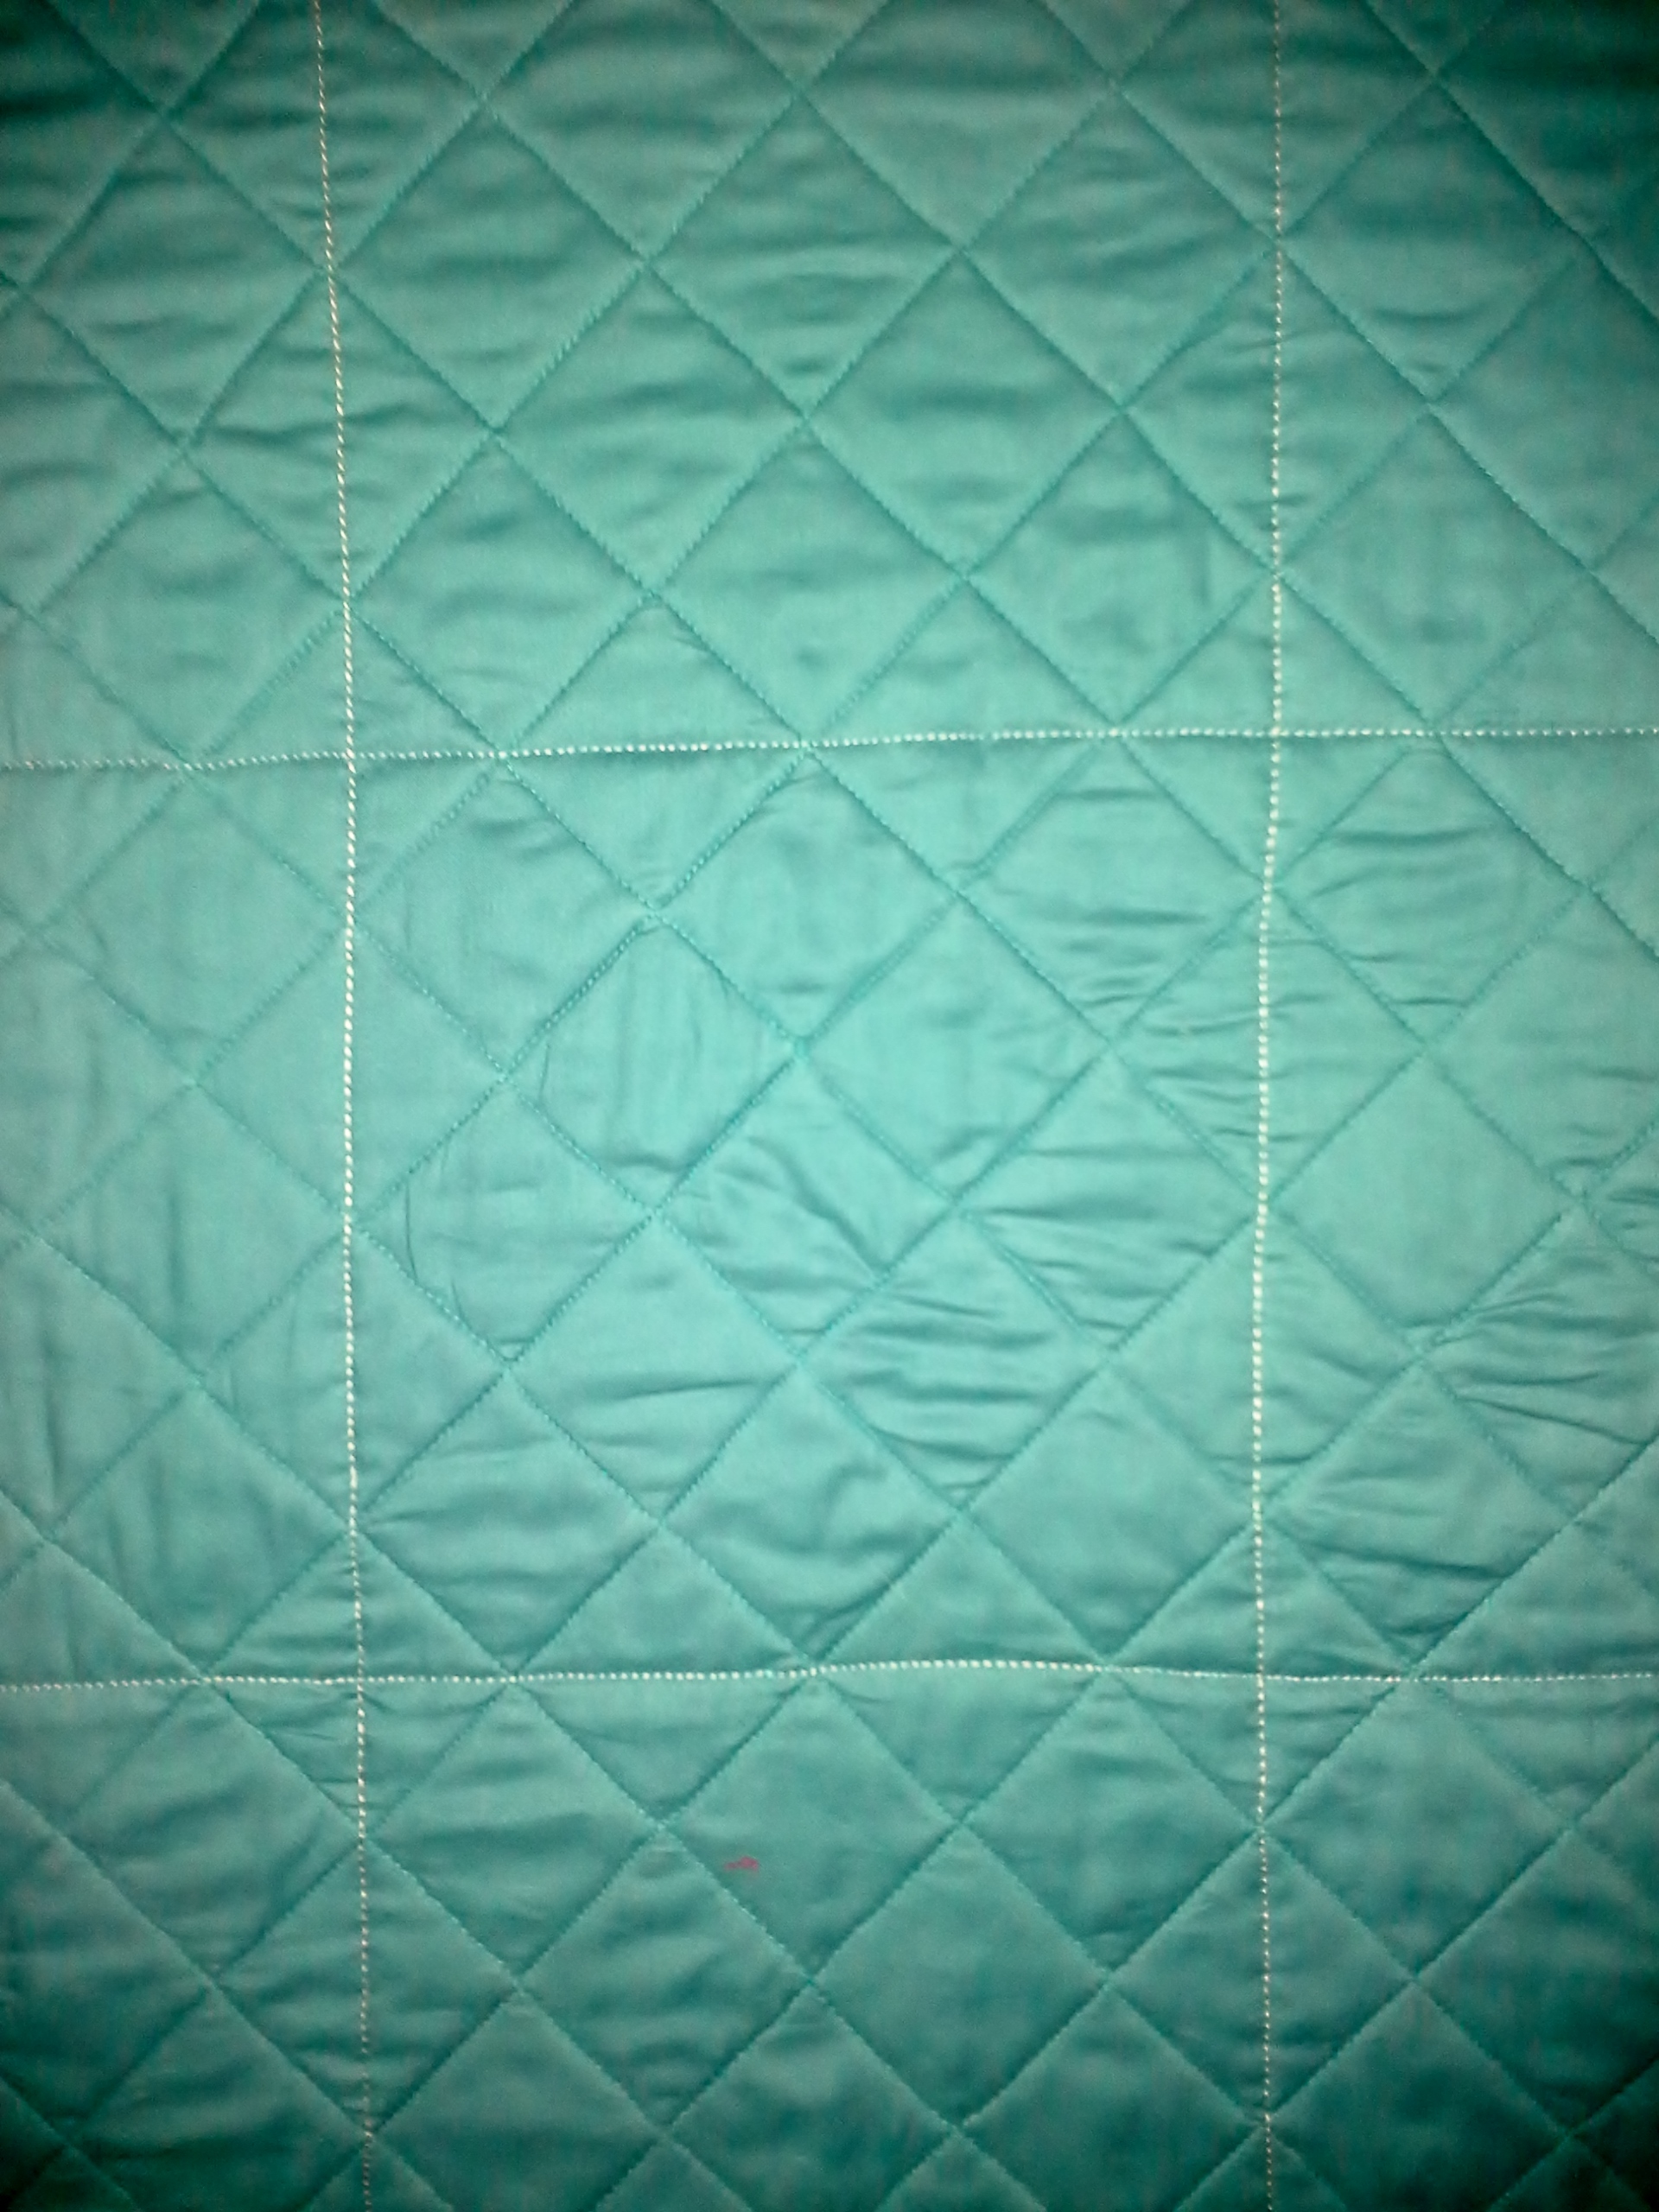
Finished – Courthouse Squares – 2015
Courthouse Squares 2015
Quilted and bound, this crib/lap quilt is now complete. Here are some close-ups showing the variations among blocks and the scrappy binding.

And a view of the quilting from the back.


You must be logged in to post a comment.